Calculated Fields: 3% discount for paying in 10 days
We will add two new calculated fields to the invoice template:
1) A date field 10 days after the invoice date
2) Another field giving a 3% off the total
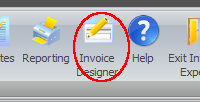
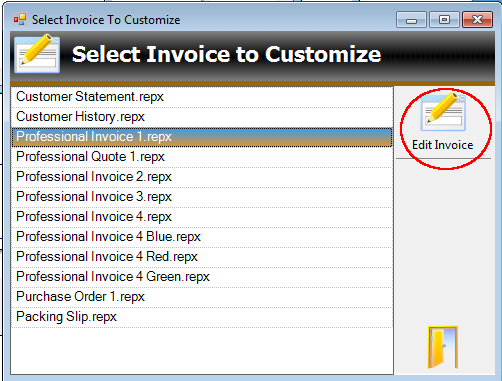
First open up the invoice designer for the template you wish to use:
Calculated Field: 10 days after Invoice Date
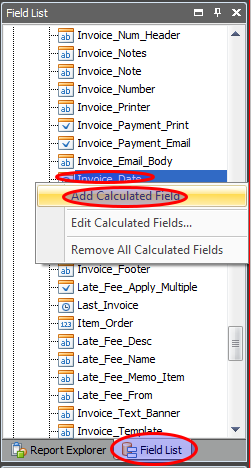
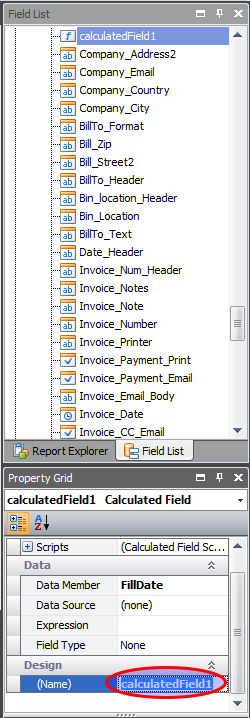
First click on the field list tab on the right panel of the invoice designer. Then click on any of the fields and begin typing "Invoice_Date" to search. Right click on Invoice_Date and click "Add calculated Field".
Now rename the new calculated field by clicking in the (Name) area in the property panel under the field list.
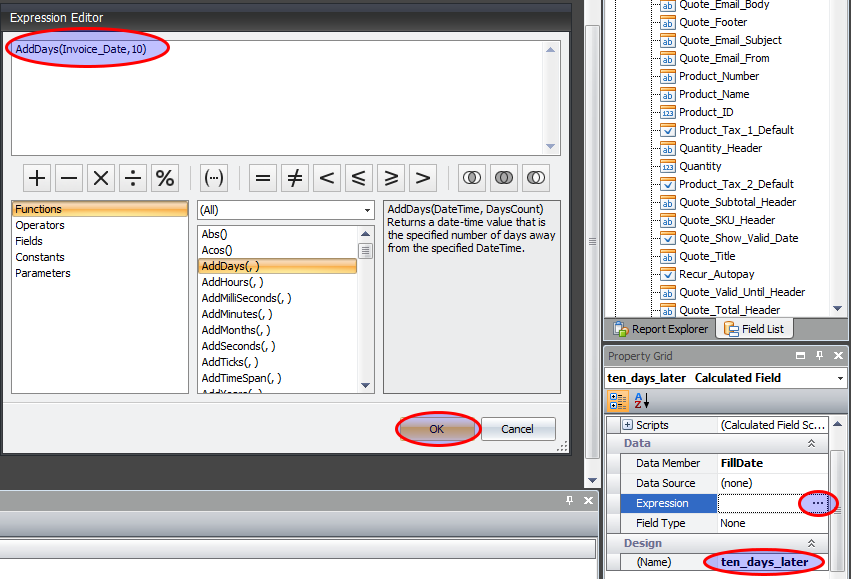
Now click the three dots on the right side of the "Expression" property to open up the Expression editor.
Then inside the editor type:
AddDays(Invoice_Date,10)
This will take the Invoice Date field, and add 10 days to that date. Now click OK.
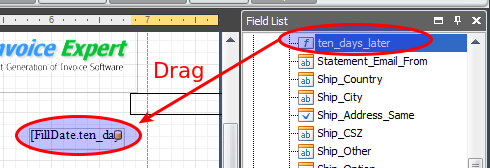
Find your calculated field in the field list (remember you can click any field and start typing to search).
Drag your new "ten_days_later" calculated field into the template.
Calculated Field: 3% discount on balance due
Click on the BalanceDue field, which holds the total payment at the bottom of the invoice.
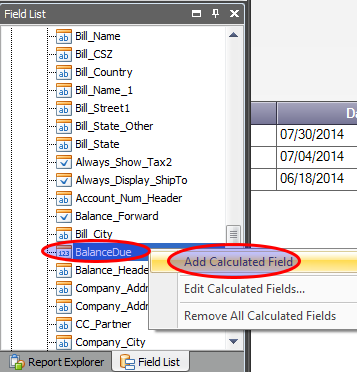
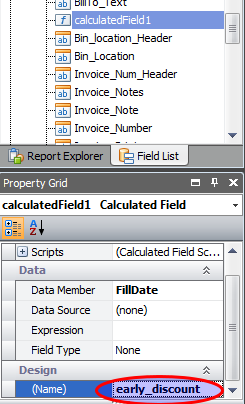
Now rename the calculated field to "early_discount" in the (Name) property.
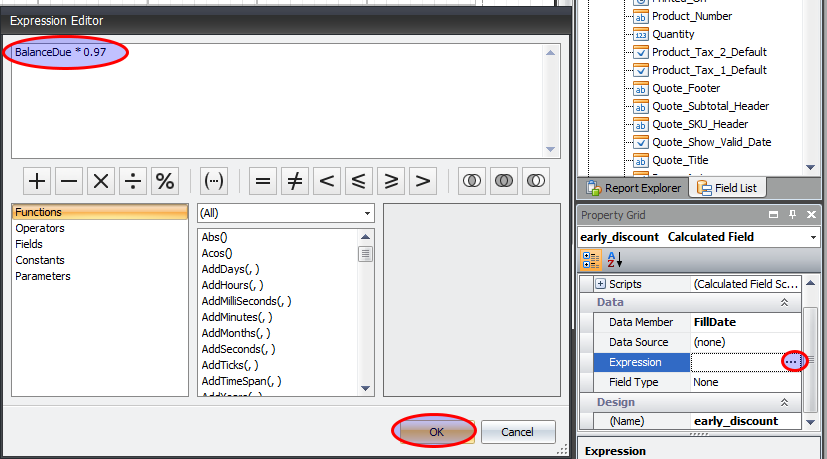
Click on the expression property and in the expression editor type:
BalanceDue * 0.97
This will take the payment due and take off 3%.
To take off 10% you would type this instead:
BalanceDue * 0.90
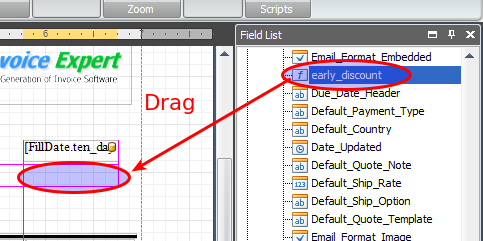
Now drag your new "early_discount" calculated field into the template.
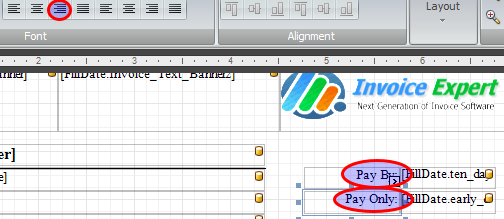
We now create two labels, by dragging a label from the left panel into the template. Repeat this twice.
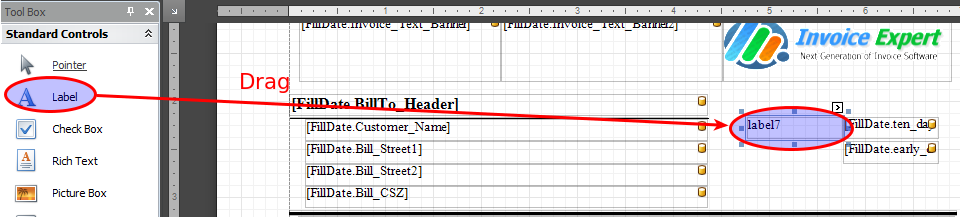
Double click on the label and type in "Pay By: " and "Pay Only: "
You can also change the justification of the label to align to the right.
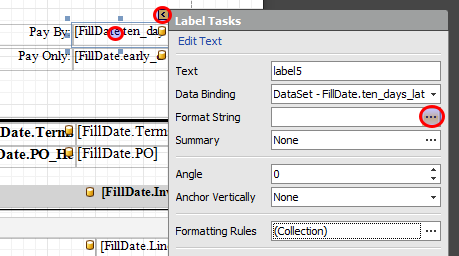
Now we must change the format of the calculated fields so they show up properly.
First click the "ten_days_later" field, click the white arrow then click the three dots by the format string.
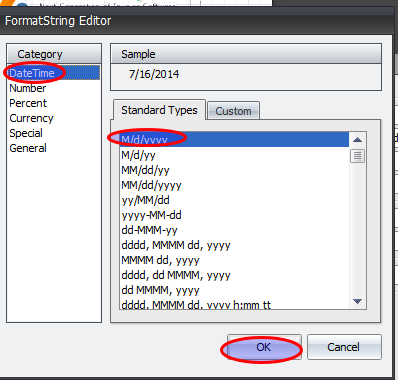
In the format string editor popup, select the DateTime category on the left, then
select the date format you'd like to see and click OK.
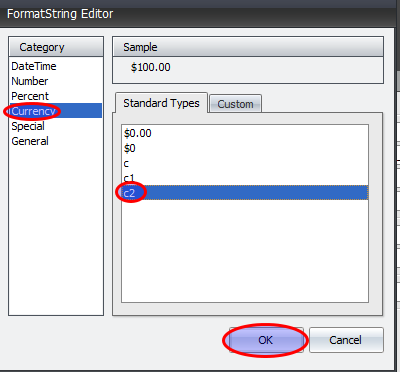
Now do the same thing for the "early_discount" field.

Change the format to Currency and select "c2" from the standard types.
Now save the invoice template:

Create a new invoice. Make sure the print template matches the template you modified.
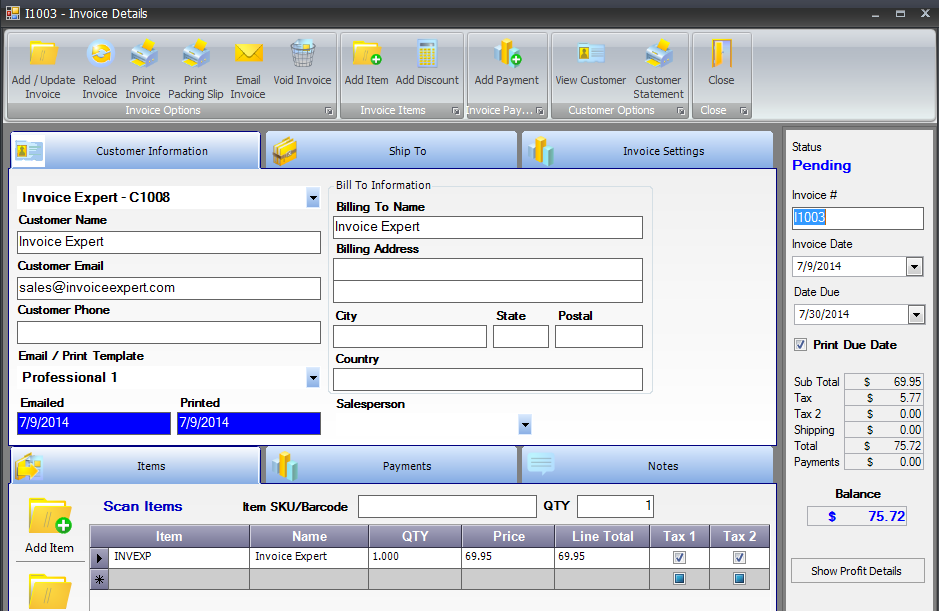
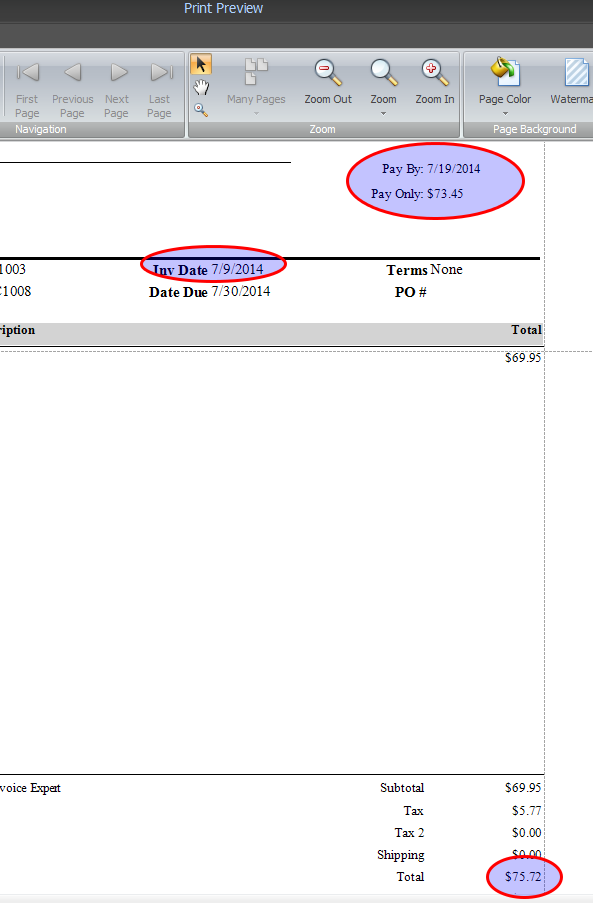
Here you'll notice that our new fields were printed. Our invoice was due 7/9/2014 but we see that if they pay 10 days later (7/19/2014) they will get a 3% discount on $75.72 which results in only $73.45 being due.